| Oracle® Data Mining Administrator's Guide 11g Release 1 (11.1) Part Number B28130-01 |
|
|
View PDF |
| Oracle® Data Mining Administrator's Guide 11g Release 1 (11.1) Part Number B28130-01 |
|
|
View PDF |
Oracle Data Mining is part of Oracle Database. To perform data mining activities, you must be able to log on to an Oracle database, and your user ID must have the appropriate database privileges. You can install Oracle Database yourself, or you can connect to a database installed on a remote computer.
This chapter is intended for anyone who wants to install Oracle Database on a laptop or personal computer running Microsoft Windows. It includes instructions for creating a Data Mining demo user and running the Data Mining sample programs. To connect to a remote database and run the programs remotely, see the instructions in Chapter 2.
Tip:
If you have questions at any point during the installation, refer to "Installing Oracle Database and Creating a Database" in Oracle Database 2 Day DBA.When you open Oracle Database 2 Day DBA in the Oracle Database Online Documentation Library, it contains direct links to the Oracle By Example (OBE) series on Database Installation.
This chapter contains the following sections. Complete the instructions in each section before proceeding to the next section.
The instructions in this section explain how to install Oracle Database with the Data Mining option and the sample schemas on your personal computer.
Note:
These instructions assume that this is a fresh installation of Oracle Database 11g.If you already have Oracle components installed on your computer, refer to Oracle Database Installation Guide for Microsoft Windows.
From the Database installation directory, run SETUP.EXE.
Oracle Universal Installer opens and displays the Select a Product to Install dialog. Choose Oracle Database 11g.
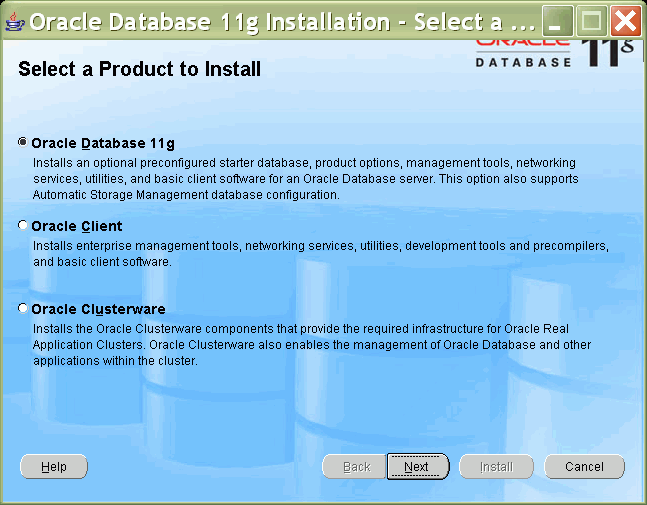
Choose Next.
The Installer displays the Select Installation Method page.
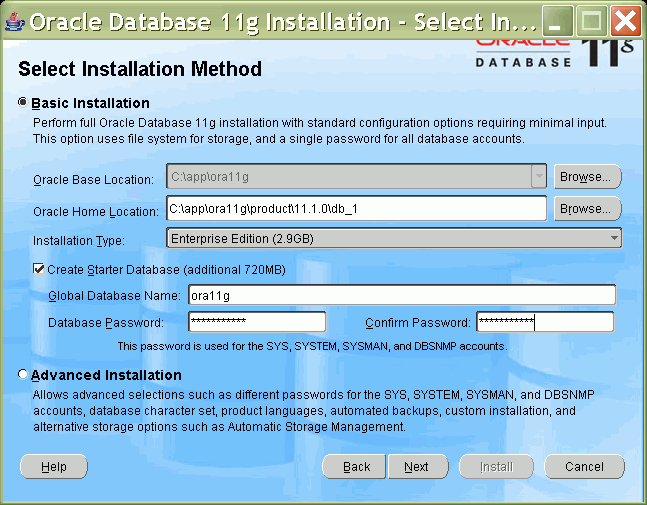
Choose Basic Installation.
Specify the Oracle Base and Home directories. Oracle Home is a subdirectory of the Oracle Base directory. You can accept the default paths provided by the Installer, as long as they do not already exist on your computer.
Choose Enterprise Edition as the Installation Type.
Check the Create Starter Database box.
Specify a unique name for Global Database Name. You can use the default global database name provided by the Installer, as long as it does not already exist on your computer.
Specify a password for the database accounts. The password must have at least eight characters and include both alphabetic and numeric characters.
You will have the opportunity to change the passwords for the database accounts at a later time.
Click Next.
On the Oracle Configuration Manager Registration page, you can choose to register your installation with your Metalink account.
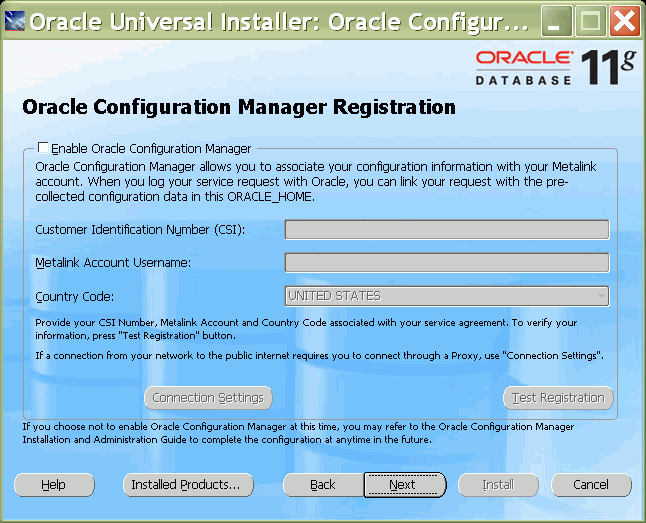
This page is optional. You can simply choose Next.
The Summary page displays the settings and components for the installation.
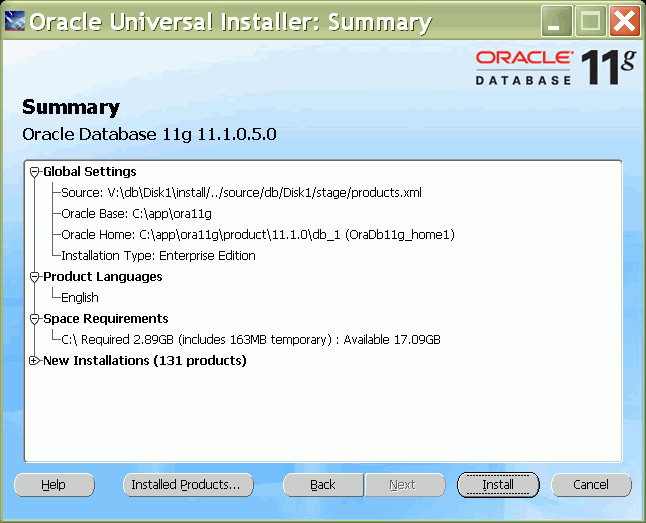
Click Install.
The Installer proceeds with the installation.
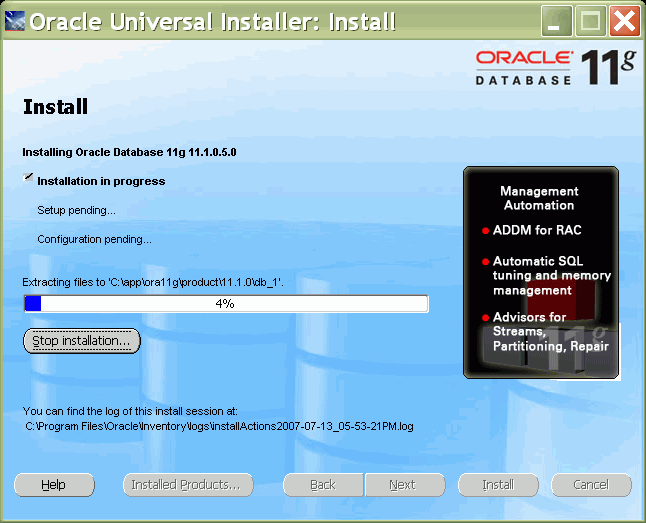
The Installer invokes the Configuration Assistants to configure and start the starter database.
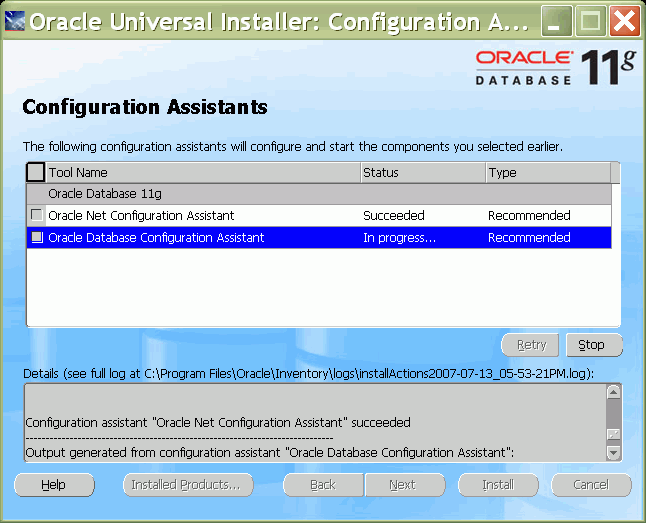
If the Configuration Assistants encounter an error, check the logs to determine the problem. You can choose to continue the installation and start the assistants manually later, or you can restart the installation. To continue the installation, click Install.
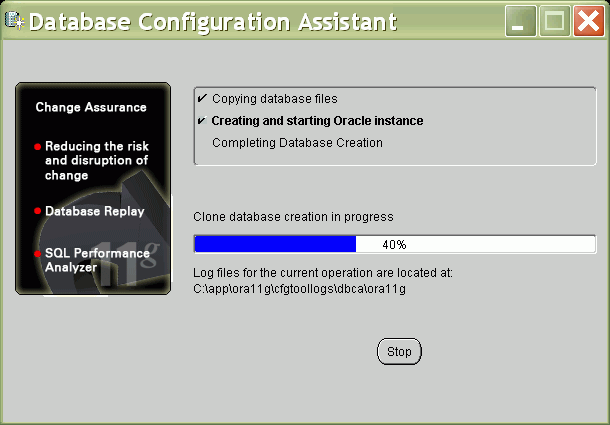
Database Configuration Assistant creates the starter database.
The Database Configuration Assistant page displays information about the starter database.
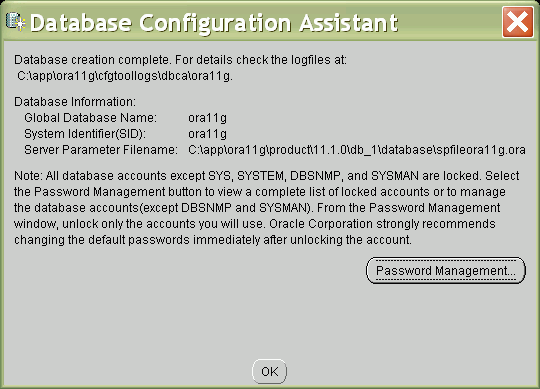
Click the Password Management button.
Unlock the SYS, SYSTEM, and SH accounts. Specify a password for SH. You can also change the passwords for SYS and SYSTEM if you wish. The password must have at least eight characters and include both alphabetic and numeric characters
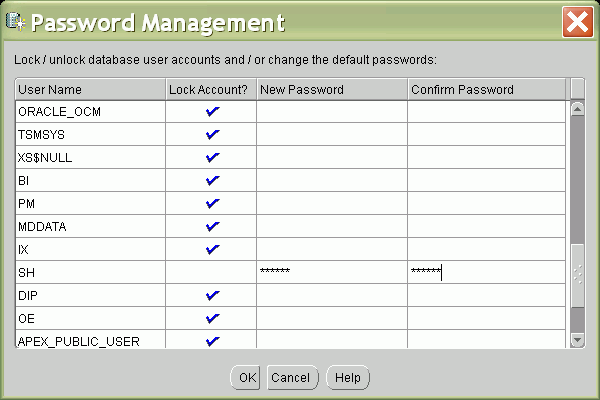
Click OK to return to the Database Configuration Assistant page.
On the Database Configuration Assistant page, click OK.
Click EXIT to exit the Installer.
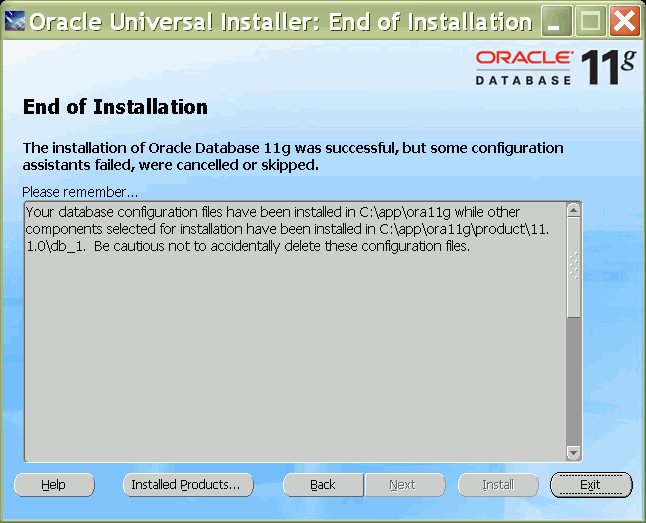
The Oracle Data Mining sample programs are installed with Oracle Database Companion.
The Database Companion installation process copies the Oracle Data Mining sample programs, along with examples and demonstrations of other database features, to the \rdbms\demo subdirectory of the Oracle home directory.
To install the Database Companion, perform these steps:
From the Companion installation directory, run SETUP.EXE.
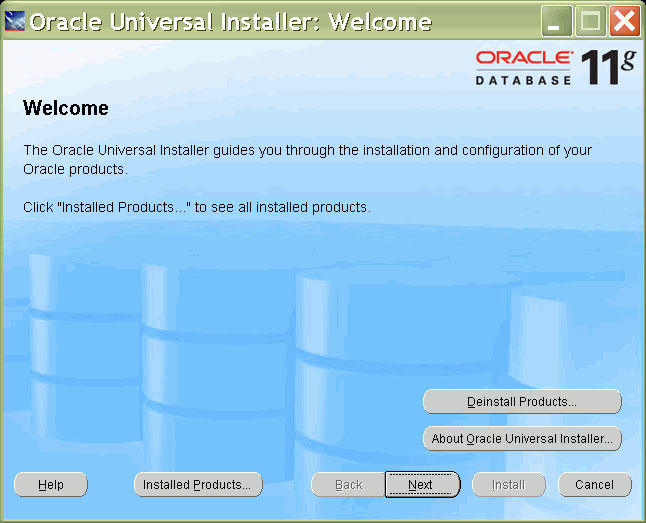
Oracle Universal Installer opens and displays the Welcome page. Click Next to advance to the next page.
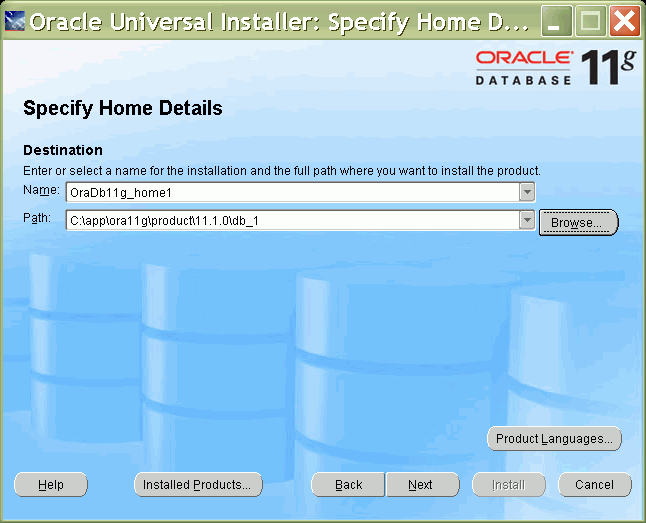
On the Specify Home Details page, specify the Oracle home directory in which you installed Oracle Database. Do not assume that the directory displayed by the Installer is correct.
On the Summary page, review the information and settings for your installation, then click Install.
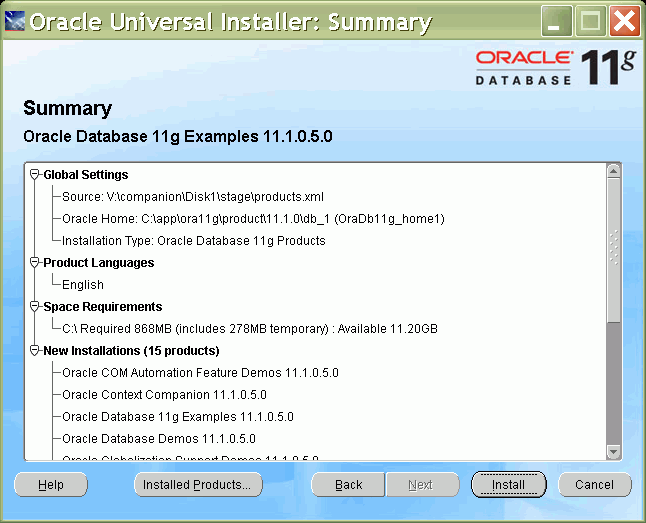
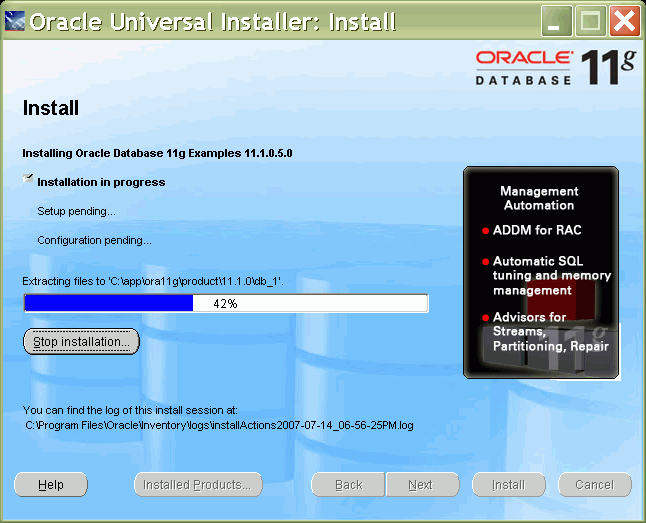
The Installer proceeds with the installation.
On the End of Installation page, confirm that the installation was successful.
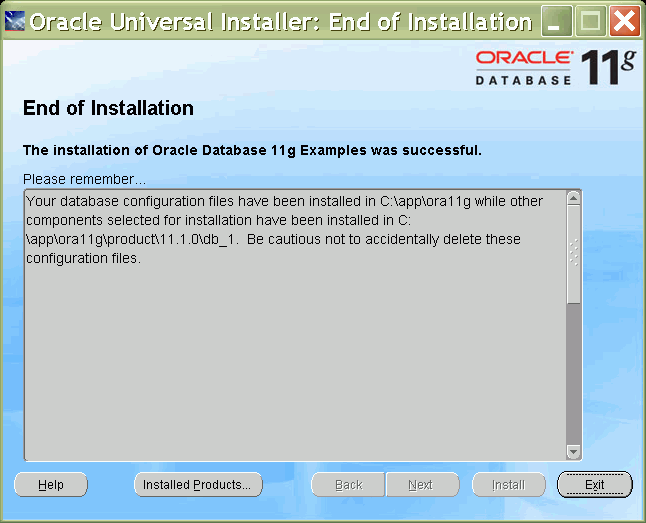
Click Exit to exit the Installer.
To build and score Data Mining models, you must have an Oracle user ID with the appropriate privileges. Follow these instructions to create a demo user that has required privileges for running the sample programs and creating and scoring models within the user's schema.
See Also:
Chapter 4, "Users and Privileges for Data Mining" to create data mining users that are capable of performing broader data mining tasksNote:
In the following sections, you will find references to the environment variable for the Oracle home directory on Windows (%ORACLE_HOME%). If the environment variable does not exist on your computer, you can create it.Start SQL*Plus and login with system privileges.
You can launch SQL*Plus from the Windows Start menu. Choose the Oracle Home menu item and the Application Development submenu.
Enter user-name: sys / as sysdba
    Enter password: sys_password
To create the user, type a command like the following.
SQL> CREATE USER dmuser IDENTIFIED BY dmuser_password
       DEFAULT TABLESPACE example
       TEMPORARY TABLESPACE temp
       QUOTA UNLIMITED ON example;
This example creates the user dmuser with the password dmuser_passsword. It provides default access to two tablespaces shared by several of the sample schemas.
Run dmshgrants.sql to grant access to the SH schema. Several tables in SH are used by the Data Mining sample programs. Specify the Data Mining user name and the password to SH as parameters.
SQL> @ %ORACLE_HOME%\rdbms\demo\dmshgrants sh_password dmuser
This example allows the user dmuser to access the SH schema. The password to SH in this example is sh_password.
Now connect to the database as the Data Mining user.
SQL> connect dmuser
Enter password: dmuser_password
Run dmsh.sql to populate the schema of the Data Mining user with tables, views, and other objects needed by the sample programs.
SQL> @ %ORACLE_HOME%\rdbms\demo\dmsh
SQL> commit;
Once you have completed these steps, you can run the Data Mining sample programs whenever you log in to the database as the Data Mining demo user.
To locate the sample programs on your computer, navigate to the rdbms\demo subdirectory under Oracle Home.
To display the Data Mining PL/SQL sample programs, search for the files that start with dm and end with .sql. (The list will include dmsh.sql and dmshgrants.sql, which are used to configure the Data Mining demo user ID.) The PL/SQL sample programs are listed in Table 1-1.
Table 1-1 Sample PL/SQL Data Mining Programs
| Program File | Algorithm | Mining Function or Task |
|---|---|---|
|
dmaidemo.sql |
Minimum Descriptor Length |
|
|
dmardemo.sql |
||
|
dmdtdemo.sql |
Classification |
|
|
dmdtxvlddemo.sql |
Decision Tree (cross validation) |
Classification |
|
dmglcdem.sql |
Classification |
|
|
dmglrdem.sql |
Regression |
|
|
dmkmdemo.sql |
Clustering |
|
|
dmnbdemo.sql |
Classification |
|
|
dmnmdemo.sql |
||
|
dmocdemo.sql |
||
|
dmsvcdem.sql |
||
|
dmsvodem.sql |
Support Vector Machine |
|
|
dmsvrdem.sql |
Support Vector Machine |
|
|
dmtxtfe.sql |
Text transformation for mining |
|
|
dmtxtnmf.sql |
Non-Negative Matrix Factorization |
|
|
dmtxtsvm.sql |
Support Vector Machine |
Text mining using SVM |
In the same directory, search for the files that start with dm and end with .java to display the Java samples. The Java sample programs are listed in Table 1-2.
Table 1-2 Sample Java Data Mining Programs
| Program File | Algorithm | Mining Function or Task |
|---|---|---|
|
dmaidemo.java |
Attribute importance |
|
|
dmapplydemo.java |
Illustrate scoring methods |
|
|
dmardemo.java |
Association |
|
|
dmexpimpdemo.java |
NA |
|
|
dmglcdemo.java |
Classification |
|
|
dmglrdemo.java |
Regression |
|
|
dmkmdemo.java |
Clustering |
|
|
dmnbdemo.java |
Classification |
|
|
dmnmdemo.java |
Feature extraction |
|
|
dmocdemo.java |
Clustering |
|
|
dmpademo.java |
Predictive Analytics |
|
|
dmsvcdemo.java |
Classification |
|
|
dmsvodemo.java |
Support Vector Machine (one class) |
Classification |
|
dmsvrdemo.java |
Support Vector Machine |
Regression |
|
dmtreedemo.java |
Classification |
|
|
dmtxtnmfdemo.java |
Non-Negative Matrix Factorization |
|
|
dmtxtsvmdemo.java |
Support Vector Machine |
Text mining with SVM classification |
|
dmxfdemo.java |
You will learn a great deal about the Data Mining APIs by investigating the source code of the sample programs. The programs illustrate typical approaches to data preparation, algorithm selection, algorithm tuning, testing, and scoring. All the programs include extensive comments to help you understand what the code is doing.
You can view the source code simply by opening the files in a text editor.
Now that you have a user ID with the required privileges and a schema populated with the required objects, you can run the sample programs. Each program creates a Data Mining model.
While the program is running, it displays the code and the program output.
You can run the sample programs as many times as you wish. The programs clean up the results of the previous run before executing the current run.
To run the PL/SQL programs:
Start SQL*Plus and login as the Data Mining user.
Enter user-name: dmuser
    Enter password: dmuser_password
Run the program by specifying "@" followed by the fully-qualified path of the program. This example executes the program dmnbdemo.sql, which creates a Naive Bayes model.
SQL>@ %ORACLE_HOME%\rdbms\demo\dmnbdemo
Before you can run the Java programs, you must set up your Java environment and compile the programs. You can do this in an Integrated Development Environment such as Oracle jDeveloper, or your can execute the following commands at the operating system prompt.
Check that the version of Java you are using is 1.5 or higher. You can execute the following in a command window to check the version of Java.
>java -version
Add %ORACLE_HOME%\jdk\bin\ to your PATH variable before the paths of any other Java versions.
Add the following Data Mining JAR files to your Windows CLASSPATH:
%ORACLE_HOME%\rdbms\jlib\jdm.jar
            %ORACLE_HOME%\rdbms\jlib\ojdm_api.jar
            %ORACLE_HOME%\rdbms\jlib\xdb.jar
            %ORACLE_HOME%\jdbc\lib\ojdbc5.jar
            %ORACLE_HOME%\oc4j\j2ee\home\lib\connector.jar
            %ORACLE_HOME%\jlib\orai18n.jar
            %ORACLE_HOME%\jlib\orai18n-mapping.jar
            %ORACLE_HOME%\lib\xmlparserv2.jar
Compile the programs listed in Table 1-2. To use the JAVAC executable, open a command window and go to \rdbms\demo in Oracle home.
>javac program_name.java
For example:
>javac dmnbdemo.java
If JAVAC is not found, then check the value of the PATH variable.
You can run a Java program from the operating system prompt with a command like this:
>java program_name host_name:port_number:database_identifier user password
For example:
>java dmnbdemo mypc:1521:orcl dmuser dmuser_password
This command runs the dmnbdemo Java program on a computer named mypc. The program runs in a database that has the default name (orcl) and uses the default port (1521).
You can query the USER_MINING_MODELS view to list the models in your schema.
SQL> set linesize 100
SQL> select model_name, mining_function, algorithm from user_mining_models;

MODEL_NAME               MINING_FUNCTION            ALGORITHM
------------------------ -------------------------- ------------------------------
AI_SH_SAMPLE             ATTRIBUTE_IMPORTANCE       MINIMUM_DESCRIPTION_LENGTH
AR_SH_SAMPLE             ASSOCIATION_RULES          APRIORI_ASSOCIATION_RULES
This example shows that there are two mining models in your schema. The model name, mining function, and algorithm are displayed. To find all the columns defined in a view, use a DESCRIBE command.
SQL> DESCRIBE user_mining_models
You can query the USER_MINING_MODEL_ATTRIBUTES and USER_MINING_MODEL_SETTINGS views to obtain information about the attributes and settings for the models in your schema.